1. In the Notifications grid, click New on the tool bar. The Notifications Wizard opens.
2. Select the Scheduled notification type, then click Next.
3. Enter a name and description for the notification, and choose the module it applies to, then click Next.
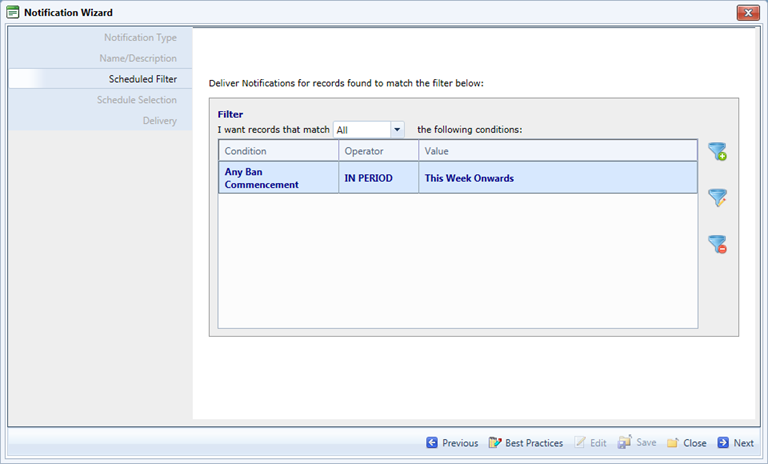
4. Define
the conditions that will filter the records. In the example below, the
notification will be sent when there is a Ban Commencement in the past
24 hours. Click Next.
Show example
5. Define how frequently this notification will be run, then click Next.
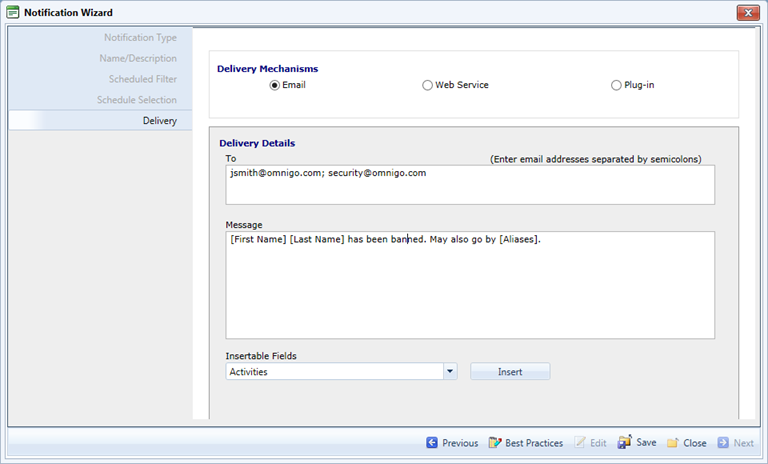
6. Enter
the email address(es) of the person(s) who are to receive this notification.
Enter the text of the message. You can insert field name variables which
will be replaced by data from the record.
Show example
7. Click Finish.