After you have created property groups, properties, and departments, you need to create roles using the Role Permissions form. Using Roles greatly simplifies the process of granting permissions to individual users. Users with the same role have the same level of access to the iTrak system. Roles can belong to multiple properties and departments.
If you want to create a role that is very similar to an existing role, clone the existing role instead and then edit it as required.
To create a role:
1. Click ![]() Administration on the Shortcuts
bar to display the Administration form.
Administration on the Shortcuts
bar to display the Administration form.
2. On the Properties & Roles tab, select the property or property group that the role will belong to (in the Property Groups & Properties section).
3. In the Departments section, select the department that the role will belong to.
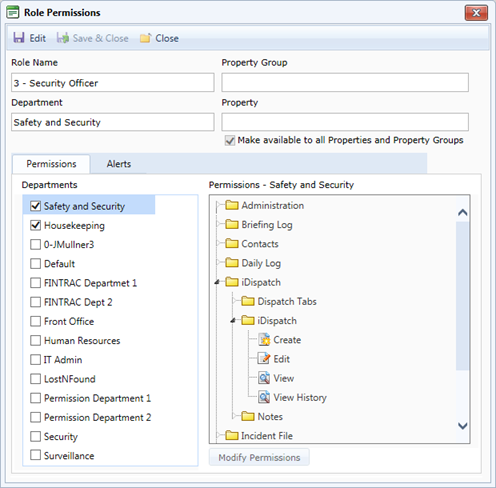
4. In the Roles section, click Add. The Role Permissions form appears. Show example
5. Enter a Role Name.
6. Optionally, select the check box to make this new role available to all properties and property groups.
ONLY the built-in Administrator can edit, create and remove global roles on the iTrak system.
7. If the role has the same permissions in multiple departments, select the other departments on the left side of the Permissions sub-tab. (If the role has different permissions in other departments, you must define the roles for each department.)
8. To select the appropriate permissions for this role, click Modify Permissions.
9. All existing permissions are listed in tree format, grouped by module. Select the individual permissions that you want users assigned this role to have, then click OK. You can assign permissions at any level of the tree hierarchy; selecting a parent node will assign all permissions below it. The selected roles are displayed on the right side of the Permissions sub-tab.
10. Define which alerts appear to users with this role, on the Alerts sub-tab.
11. When you are finished, click OK to save the role.